
A simple ritual site tutorial
- OSHIROblog

- Sep 25, 2025
- 3 min read
Again, lacking in inspiration for catchy titles lol
There is a new, smaller set in the fantasy section of the catalogue representing a small ritual site. It's smaller than the stone circle released a while back and it seemed to be good fodder for a little tutorial.

Again, following the style of previous tutorials first off is a quick photo of parts used with the link to the catalogue page.

The sabot tray (as with all them) comes in two layers of 2mm mdf.
This is stuck together with Gorilla wood glue and left overnight under weight to help keep it flat and prevent warping.
The caulk I use for ground cover doesn't really warp but it's always best to be sure.
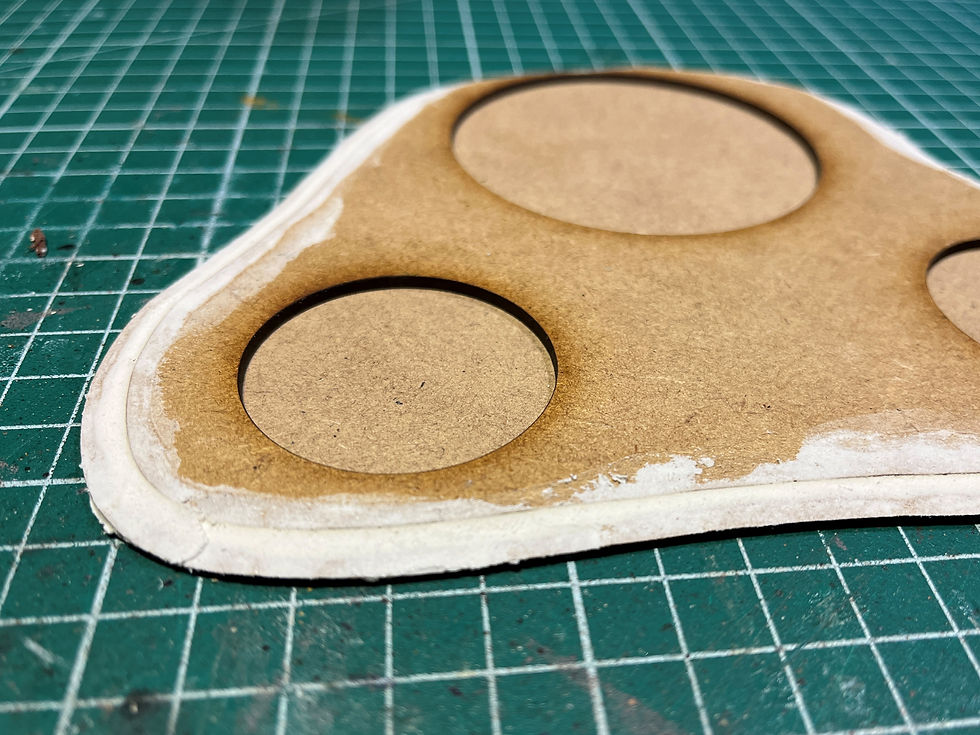
When dry, the edges were given a chamfer with a sharp scalpel (always be careful when using sharp tools) and the small gap in between the two layers was filled with normal, ready mixed wall filler from B&Q (which is a UK diy shop).
The chamfer is done slightly randomly and also, more was taken from the front to give the impression that there is more footfall around that area.
Again, this was left overnight to dry. During the summer this project could probably be done in a day but now winter is drawing in, it's getting chilly out there and things take longer to dry.
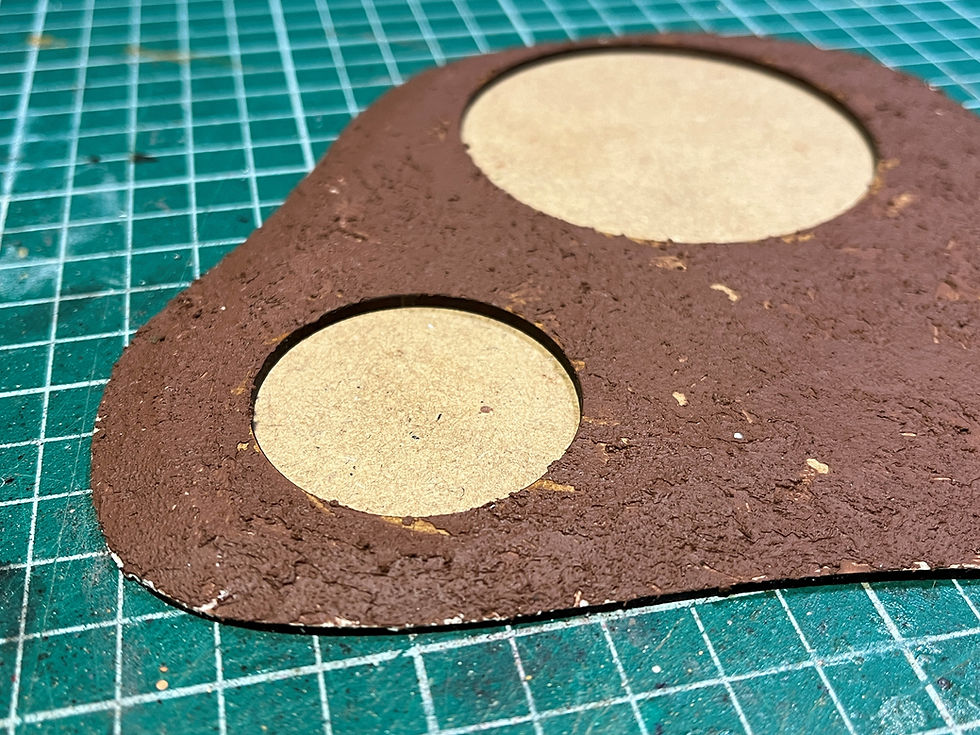
The whole top surface was given a coat of my usual ground cover mix, which is brown acrylic caulk mixed with fine sand. I use play sand and a medium sized bag will last a very long time.

The stones themselves were given a light wash with warm, soapy water and left to dry (the same time as the when the base was glued). They were then sprayed with Colour Forge Desert Sand spray.
I used to use Halford camo sprays a lot but since they changed the formula I've switched over to Colour Forge. They give good coverage and have a useful range of colours.

When the primer was dry, they were given a sparse, rough stipple with some very light grey and then some dark grey. I normally use Tamiya spray cans for this, slightly depressing the nozzle so only a spurt comes out but not everyone has access to them (or the space to do it) and they are quite smelly when drying.
The stones were then given a wash of the GW greeny brown ink and when this was dry, a final drybush of a light grey.

When this was all dry, the stones were placed in the sabot and I gave them a coat of my usual ground colour, which is a warm grey.
I then went through the four stages of drybrushing that I have on most of my groundwork. Warm browns working up to a warm tan. The tan is usually only drybrushed on the areas that have heavy footfall and a lack of grass.

The skulls were undercoated with a mid brown and then a light tan was painted on the highlights. This was then given a wash of GW brown ink, quickly wiped off with my finger and then a final highlight of the tan was added to bring them out.
I also added some streaks of ink on the stones to represent weathering (brown and green) which can be seen in the final photos in the little gallery below.
The ground area had some static grass applied with watered down wood glue. Not everywhere but probably 90% coverage. A courser and darker flock was added to a few areas and a couple of tufts were glued to help finish it off. Some very fine flock was glued to the top of the rocks to represent moss.
The whole thing was given a spray coat of Windsor and Newton mat varnish but because it's not as warm as it was, there's still a lingering smell of varnish...
Again, there is a gallery below showing it with the various options and at some point in the next month or two it will make an appearance in a battle report, so watch this space.


cheers
James
OSHIROmodels


Comments