


A place in the sun

Specifically, the Peninsular although to be honest, these buildings could be used in many places around the Mediterranean. I intend to make several of these building bases as I have a sizeable collection of Portuguese figures and have also started some Spanish. The chap who I play with has plenty of French so the buildings should see plenty of action.

I actually forgot to take a photo of all the separate parts but the links are below for the specific ranges and the actual list is below. When making your own building bases, the actual elements can of course be changed around and mixed together to give a whole host of different options.

For this build I chose PN08, PN09, PN07, PNA01 and PNA02. To reduce the rigidity of right angle corners I cut down PN07 on both sides to give the impression of winding street and it was stuck to both the other PN buildings with superglue; taking care not to cover the windows. Some of PN07 was left over and I added that to the right hand side to also help break up the footprint.
The roof for the lean to was glued on place as it will act as a good anchor for the upper floors of the two houses

Before gluing down the building it was given a spray of Colour Forge Wight Bone and as some of the details are easier to reach when it's left off I started the painting in earnest. It's quite a similar palette to the Arabic building base finished recently but some of the tones are slightly warmer.
The wood was painted in a dark brown and the roof tiles picked out with six or seven different tones. The interiors were given simple colour schemes.
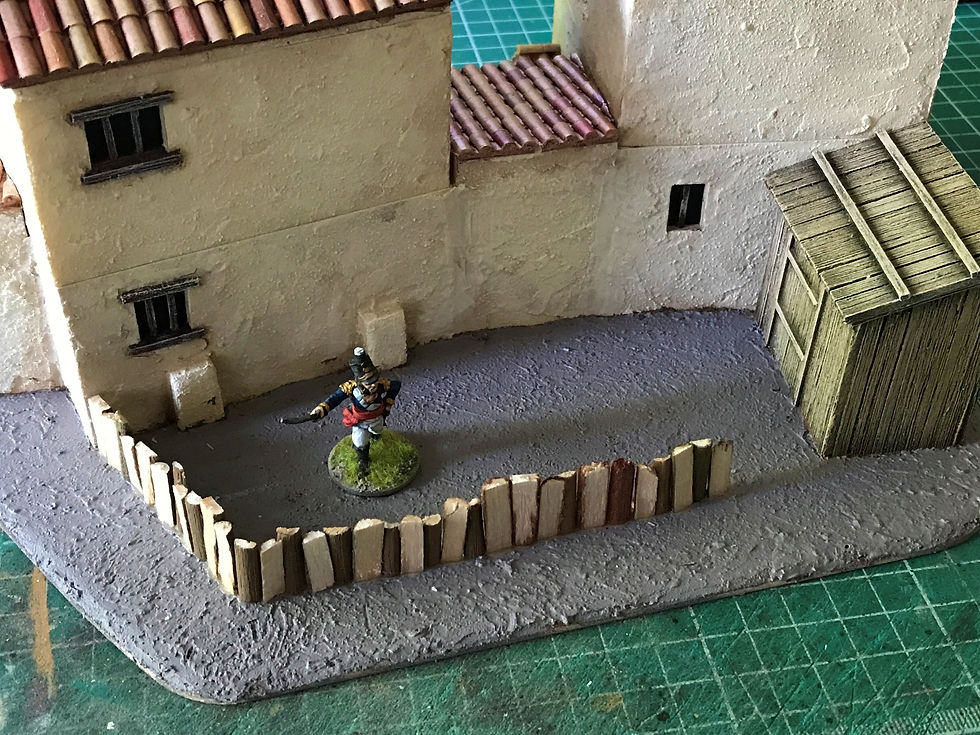
I usually do the bases for these rectangular but I thought a more close fitting design would be better and so, keeping in mind the wooden jetty support, I cut one out of 3mm mdf. Drawing round the stuck together buildings first then allowing for figure placement and other bits and bobs, the base was cut with a jigsaw and chamfered with a disc sander. 3mm mdf can be cut and shaped with a scalpel or Stanley knife but it will take several passes (don't try it in one go as there is the potential to slip and cause an accident or injury as I'm sure you've heard before).

I didn't actually take a lot of photos during the process this time as the project has been built over several months but suffice to say the base was given my usual ground texture and painted the same way as the semaphore base in the last post.
The fence out the back was balsa dowel that had been painted on the outside and then split with a scalpel to give the impression of split logs buried in the ground. simple and yet I think it work wells with the subject matter.

The application of grass was done in a similar fashion to the semaphore tower but it was very sparsely applied to the front to give the impression of a lot of foot fall. A few pale brown tufts were added here and there and some darker flock mix to the rear for overgrowth.
The shed out the back is from the medieval range (MEA02) and a few additions items for the Arabic range (pots and barrels) were glued on to help give it a lived in appearance.
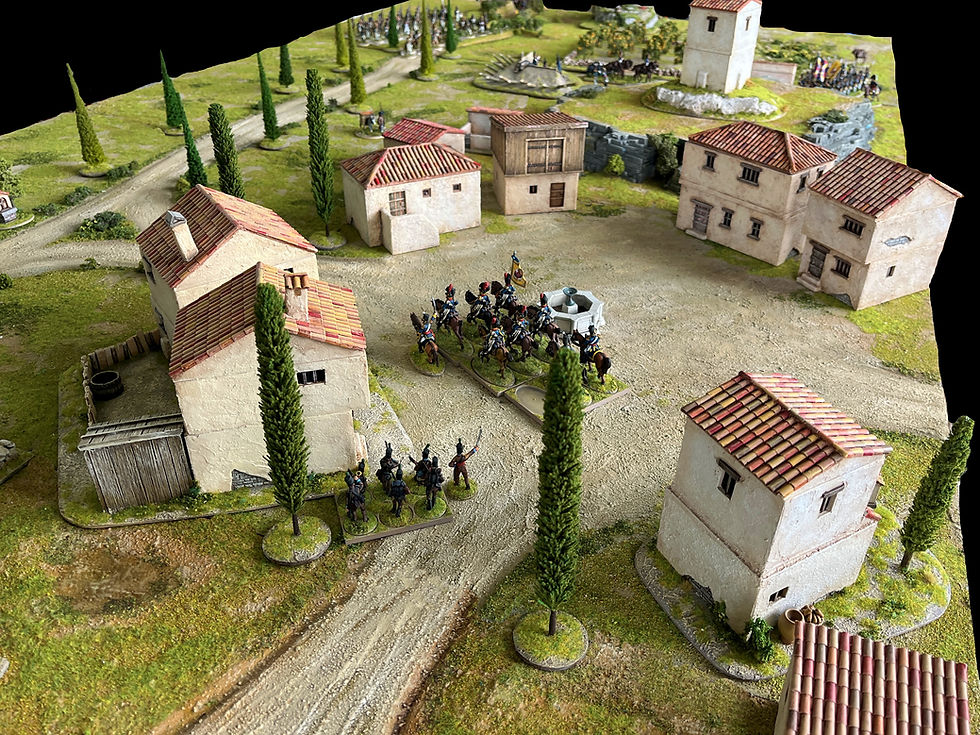
Once again, I hope this little tutorial has given some inspiration for your own builds. I will be doing three or four more bases in a similar vein so we actually have a proper village to play around (the other buildings in the gallery below are just free standing).
cheers
James
OSHIROmodels


Comments