


A 15mm Japanese building base tutorial

Quite a similar tutorial to the 28mm one but with differences given the scale. This one represents part of a larger town than the 28mm one which was just a small settlement..
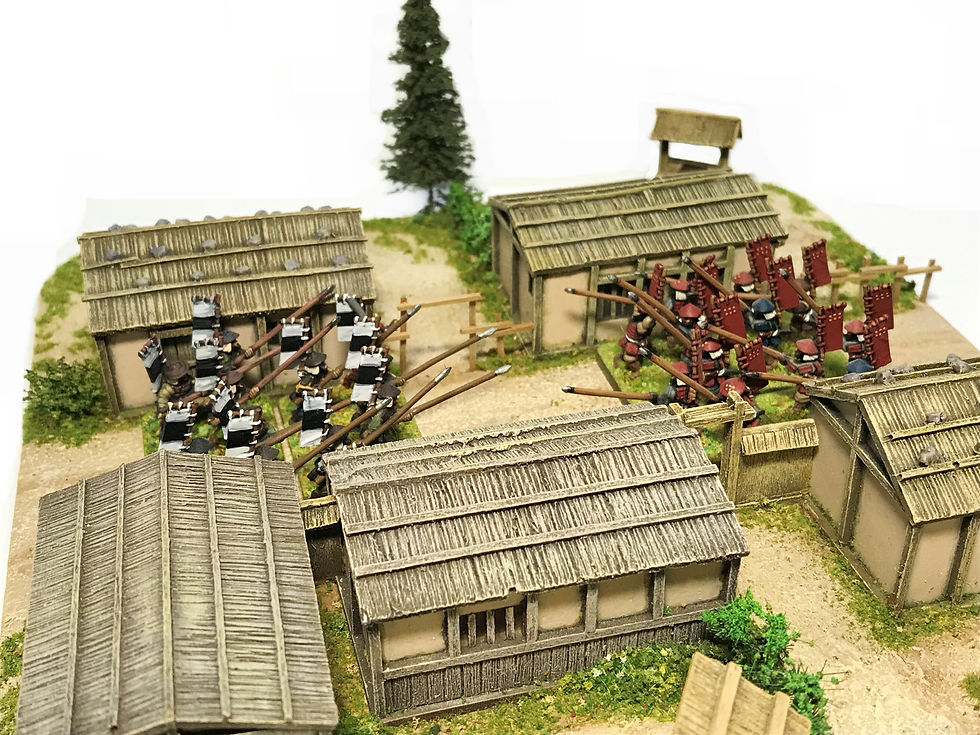
I already have a large collection of 15mm building bases (in the gallery at the bottom) and will be adding more with the later ones leaning more towards a townscape rather than just a village.
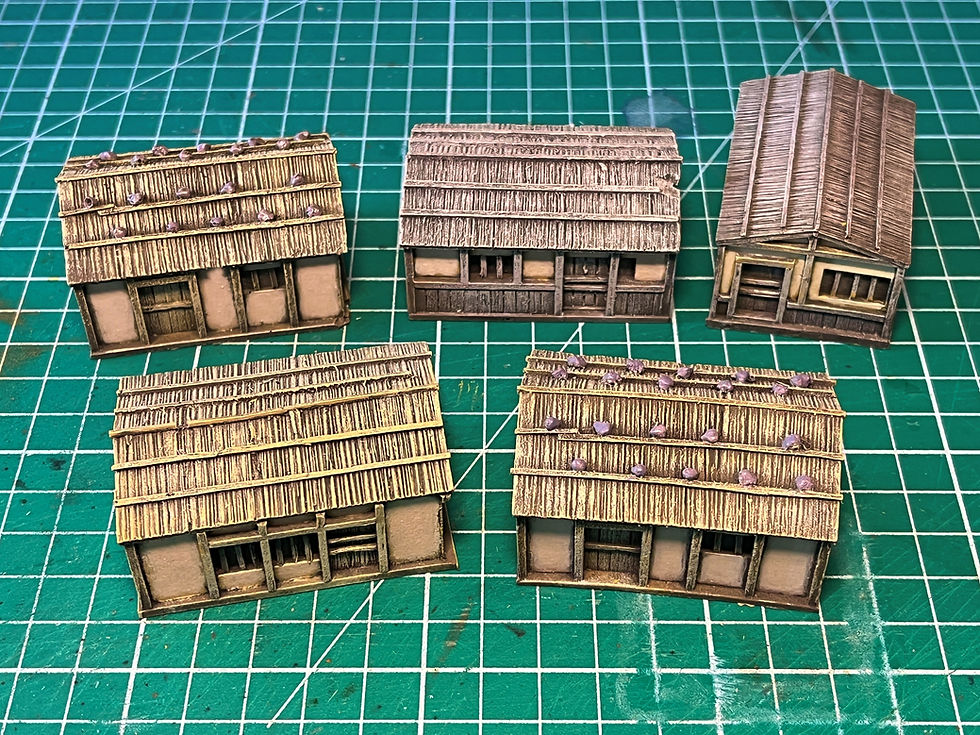
To start off I chose a mix of village and post town buildings; JV15-08 x 2, JP15-02, JP15-04 and JP15-07. Painted the same way as the 28mm versions earlier in the blog and given a quick spray of mat varnish.
A square of 3mm mdf, roughly 200mm square, was cut out and chamfered and the buildings were placed on it. Post towns and villages were usually built straight along roads with only a few 'side streets' until the settlement became bigger over time.
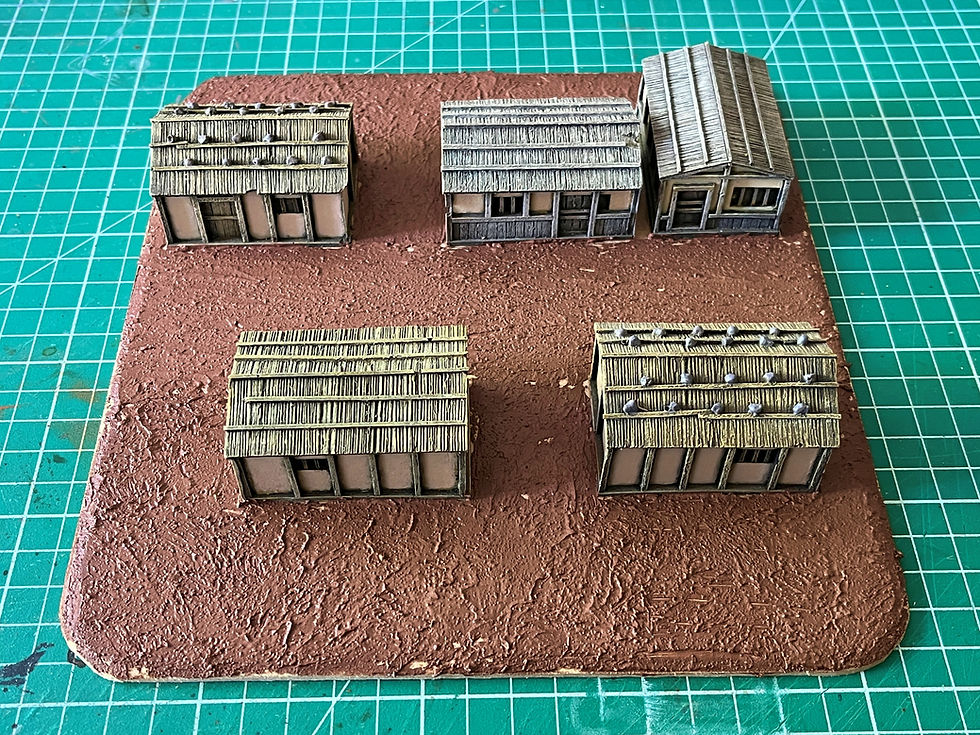
Ever so slightly watered down gloop was applied with a spatula but along the road it was dragged to give the impression of the movement of the locals (not really visible in the photo but it's there).
The base was painted the second drybrush colour that I use for 28mm builds as the lighter colour works for smaller models. This was drybrushed with the remaining colours and then some watered down ink was applied here and there to add a bit more detail.
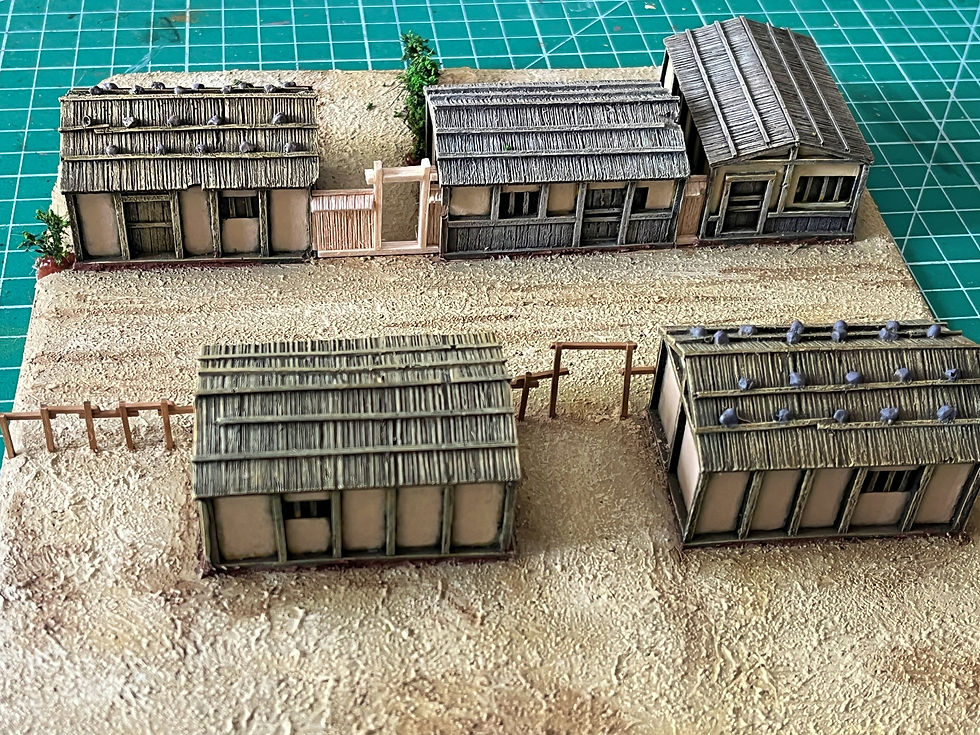
Once all that was dry, I made some short walls to go in between a couple of the buildings. These were simply made from balsa wood and painted the usual method I have for buildings.
On the other side of the road I added some fences. These were made from a hard wood and holes were drilled for the uprights. Horizontals were added with wood glue, given a light wash of GW Athonian camoshade and then lightly drybrushed with Foundry Linen highlight.
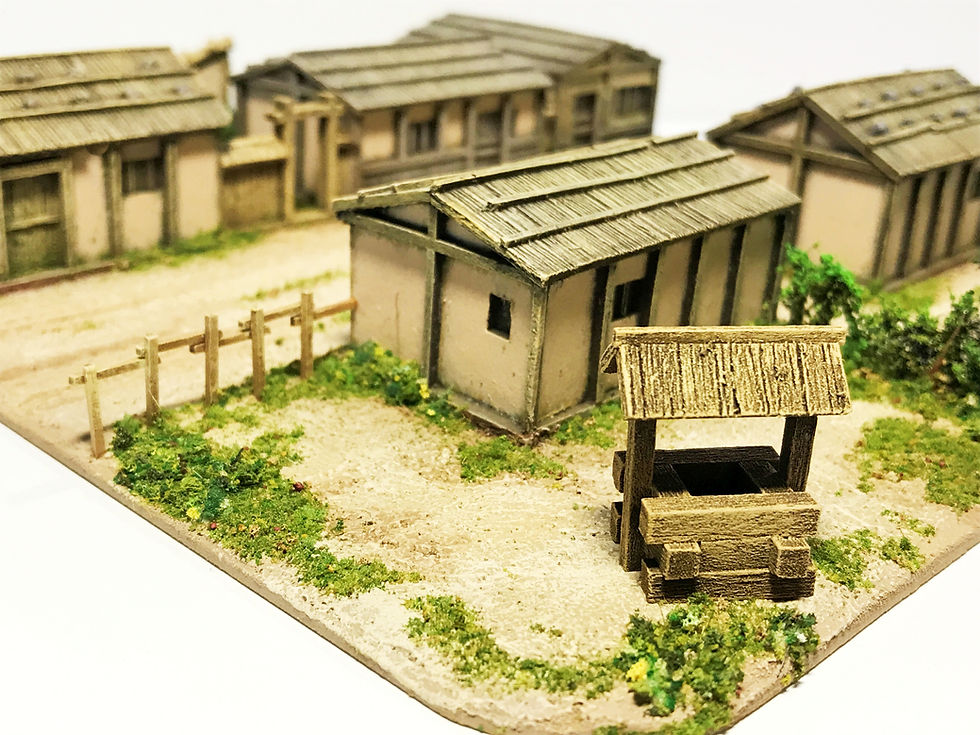
The little hedges were cut from a toilet brush tree and fixed to the base with a seam of brown hotglue. The ground texture is a couple of sponge foam mixes, the first being a plain old green and the second having more variety of colours in it to represent overgrowth.
The well and outdoor loo were scratchbuilt from card and balsa and then painted in the usual fashion (see earlier tutorials) and these elements, plus others, will be making a catalogue appearance soon in one form or another.
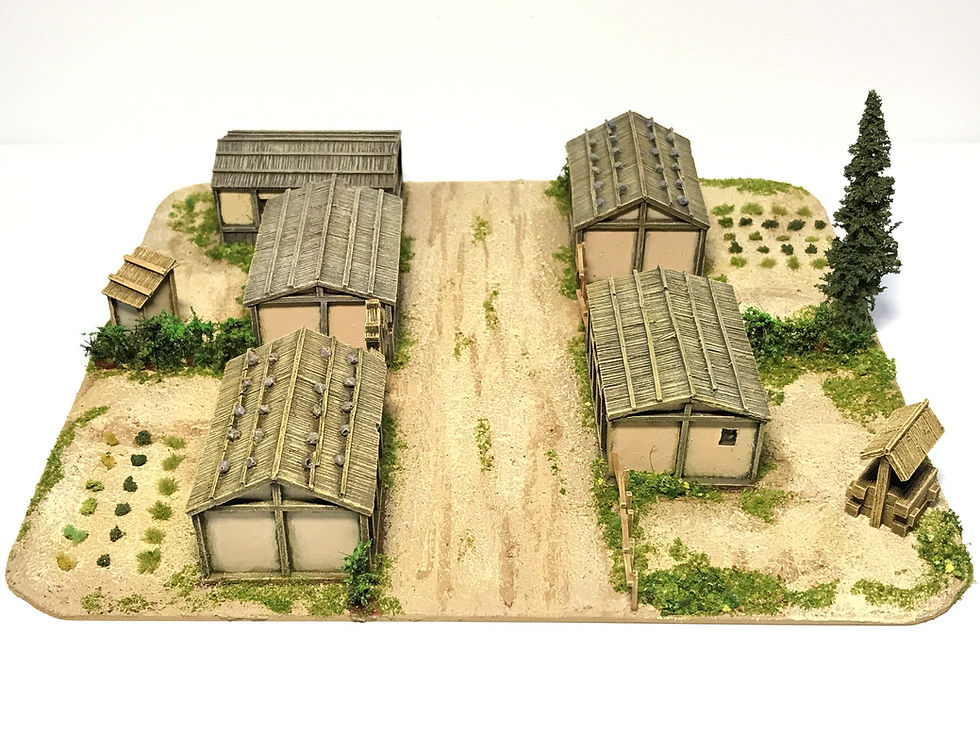
The little veggie patches were just rows of suitable tufts and larger bits of sponge flock. At this scale, I think it's better to have something giving an impression rather than go into the types of historical crops that were present and then agonise on how to represent them. The final touch was a tree from Engineering Model Associates (EMA).
Once the whole thing was dry it was given an overall spray of Colour Forge matt varnish (outdoors when the sun was shining).
I'll do a few more of these buildings bases for 15mm comprising of some more built up versions including walls which which I am working on the masters for at the moment.
As always, there is a little gallery below but there are no proper scenic shots yet as I'm still working on what would look good for my 15mm set up. I've also added some shots of what I've already got for the 15mm bases and they are after the images for this one.
cheers
James
OSHIROmodels


Comments